Alt text#
Alternative text (or alt text) are used for describing the appearance and function of an image on an HTML page for users who cannot see it. Alt text is often used by visually impaired people who use assistive technology such as screen readers. Adding alt texts to figures is one of the first principles of web accessibility as it enables the screen reader software to read an alt text to its users helping them understand/explain the content.
If an image link breaks, alt texts are still functional and read as intended by the assistive technology.
Best practices for describing an image in an alt text#
Writing alt text is all about context. Being aware of how the image is presented and the context in which it sits will give any assistive technology user a better experience. If you’re writing about an image of a painting, you might want to consider if the style of painting is important, does knowing the painter’s name add value? It’s up to you to decide what information is essential.
Here are a few things to keep in mind when writing alt text:
Alt text should be specific and not overly descriptive. They should convey the main point of the image, such as why the image was included or what the author wants the reader to notice
While length should depend on the complexity of the content, good descriptions are concise, but describe what’s in your images accurately enough to understand their context and content.
Stay clear of repetition.
Never start your alt text with ‘image of’ as this will be obvious to the user.
Include any essential text or data that is part of the visual.
Images that already have a caption describing the image, may not need additional alt text.
Screen readers will pause and stop when you tell them to but, depending on user settings, might not annunciate exclamation or question marks.
While accessibility practices do not need to be justified, it is good to note that Alt text is also used by search engines too, so using alt text may help grow a brand’s visibility online as well as enable greater accessibility.
Source: What’s the alternative? How to write good alt text - Design102. Retrieved from Gov.uk blog Design102 Series. For more information, please refer to Images - Guidance - GOV.UK.
We provide an example of alt text in the section below.
Using MyST syntax to add a figure to a Turing Way chapter#
All our chapters are written in Markdown files.
Therefore, using Markdown syntax to include a figure in a Markdown file will work fine, for example, , where the relative path of the image file is provided inside the round brackets ‘()’.
However, this formatting does not allow images to be responsive to screen sizes, making them inaccessible to read on small screens and smartphones. Furthermore, this doesn’t allow authors to resize figures in their chapters or cross-reference them somewhere else in the book.
Therefore, our recommendation is to use Markedly Structured Text (MyST) format available in Jupyter Book. For more on the syntax consult the caption section of the style guide.
You can resize figures to adjust how they appear in our chapters using the parameters: width and height (takes value in px, for example, 400px) or scale (takes value in percentage, for example, 50%), especially if your original figure is large.
Using the parameter: name, you can reference figures in other chapters in a similar manner as defined in Cross-Referencing Sections and Chapters.
The example figure we have use here can be explained with this alt text: Cartoon-like sketch of a woman looking through a big file drawer, where documents are arranged systematically indicated by versions. She is smiling and waving at her colleague who is standing next to the file drawer and seems to be checking if everything is ok - gesturing a thumbs-up.
All the components of your figure (image file location, size, name, alt text and title) can be encapsulated in a section within a markdown file using the following directive:
```{figure} ../../figures/file-collection.*
---
height: 500px
name: file-collection
alt: >
  Cartoon-like sketch of a woman looking through a big file drawer, where documents are arranged systematically indicated by versions.
  She is smiling and waving at her colleague who is standing next to the file drawer and seems to be checking if everything is ok - gesturing a thumbs-up.
---
_The Turing Way_ project illustration by Scriberia. Used under a CC-BY 4.0 licence. DOI: [10.5281/zenodo.3332807](https://doi.org/10.5281/zenodo.3332807).
```
When all these components are used correctly, a figure included in a file will be rendered in the online book like in this page:
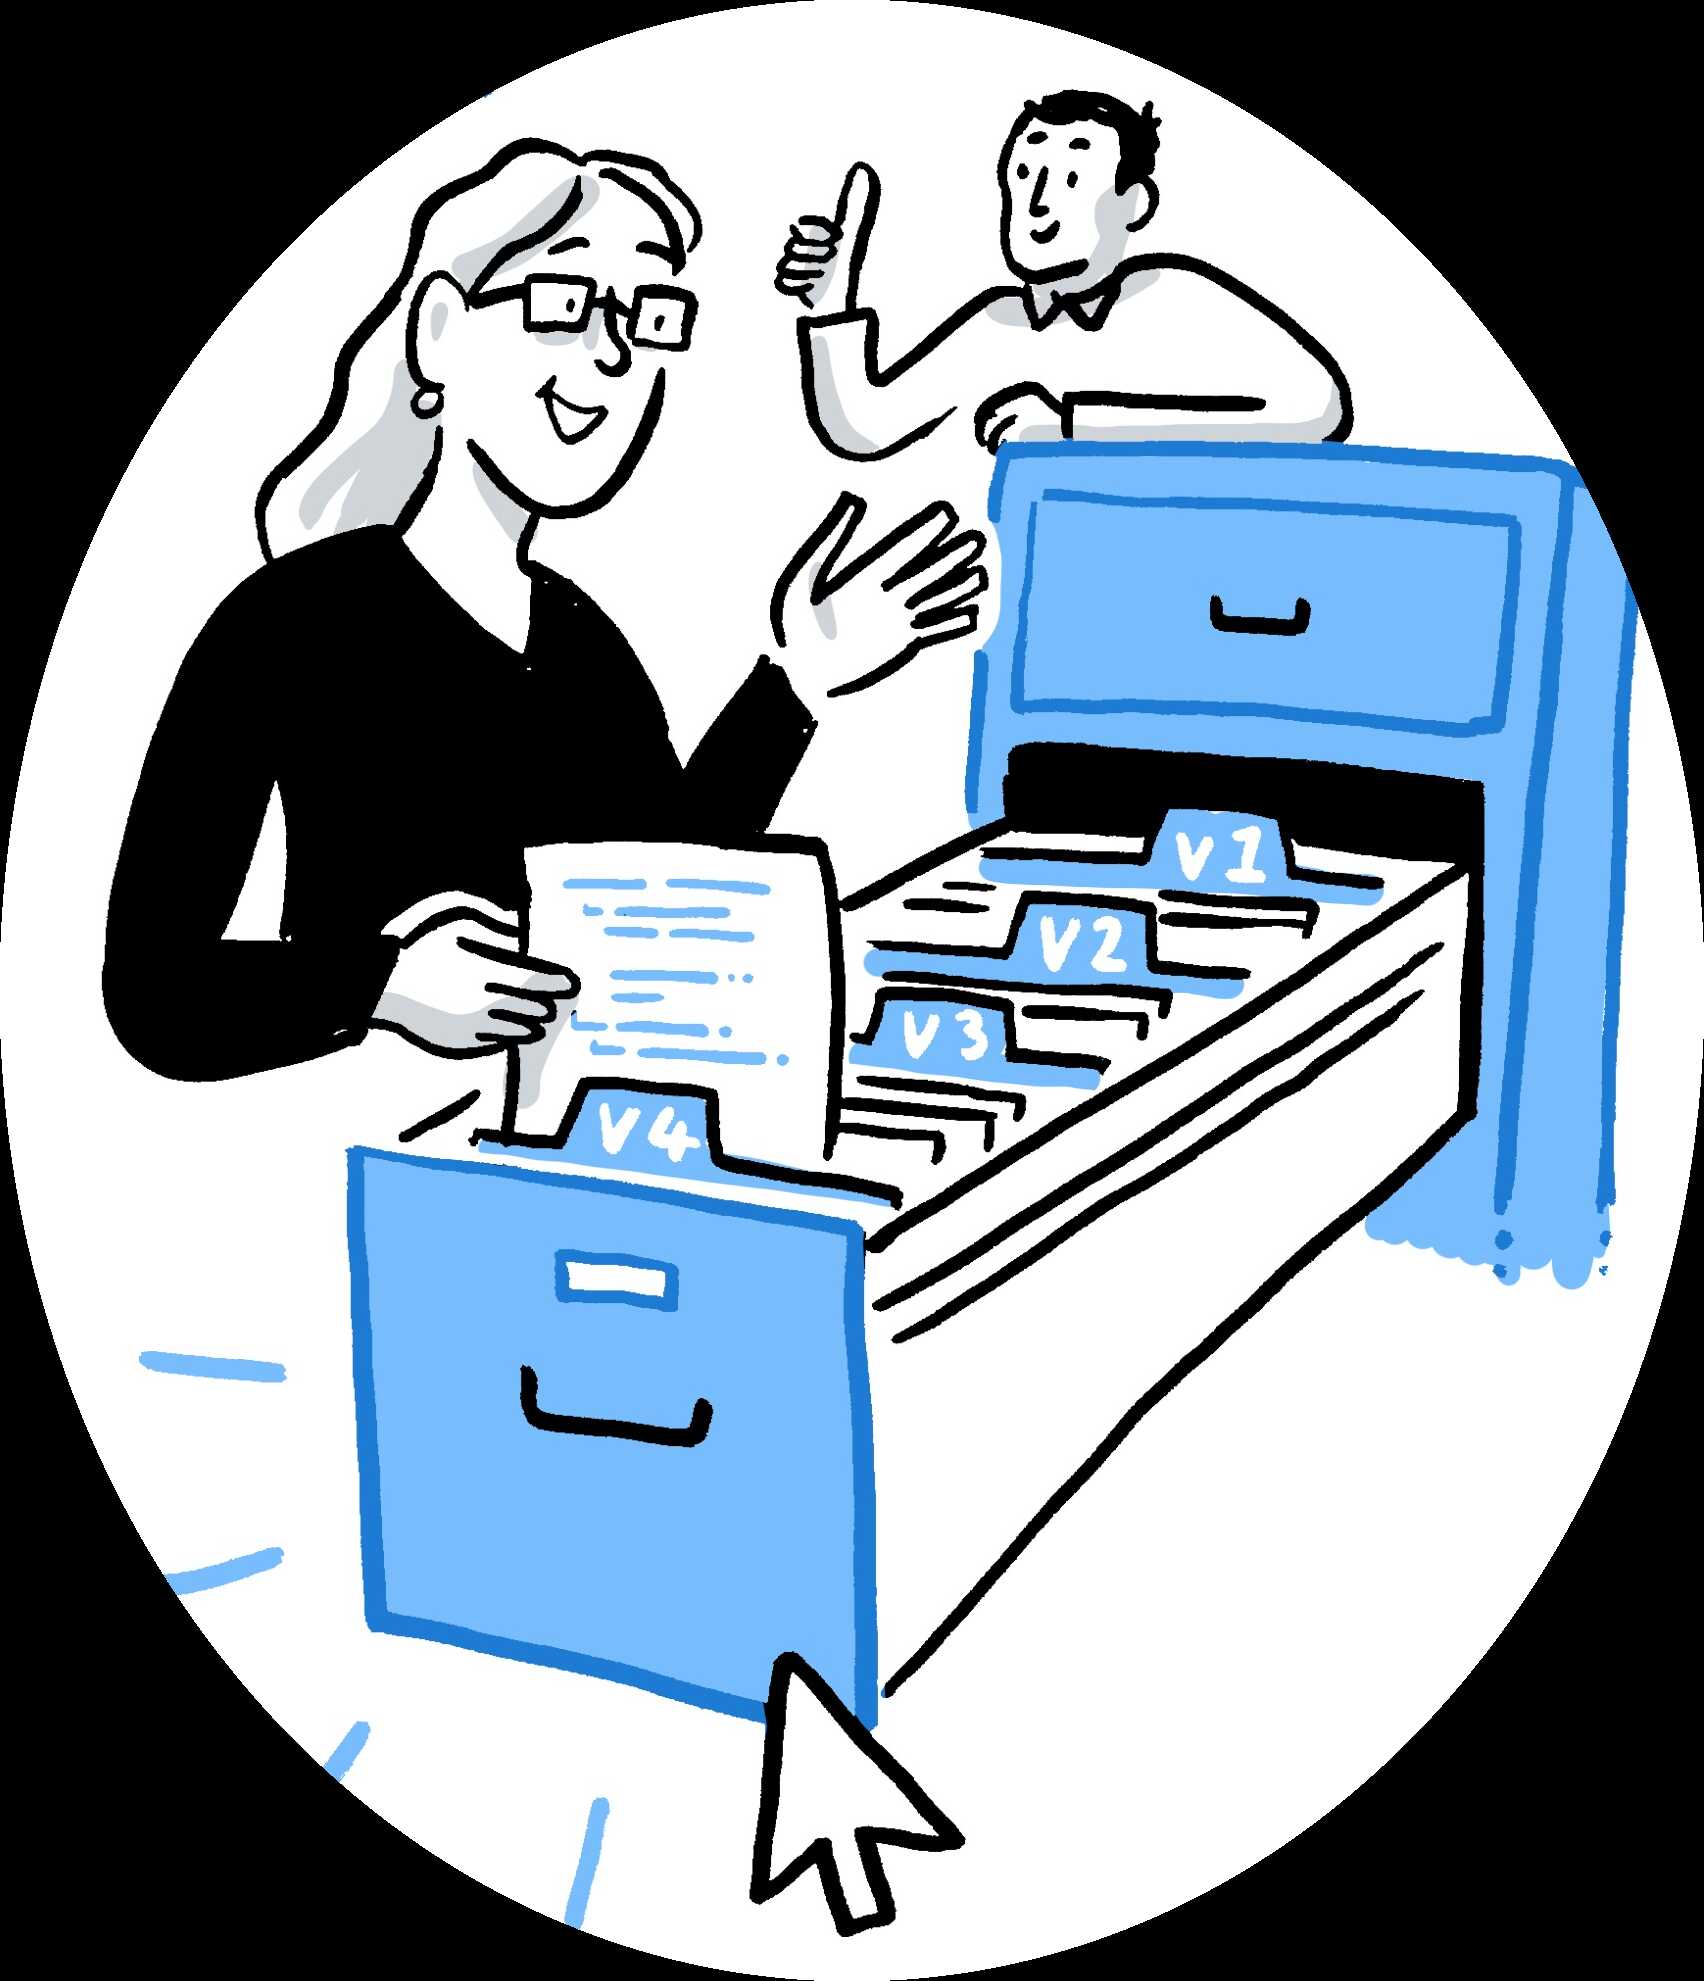
Fig. 188 The Turing Way project illustration by Scriberia. Used under a CC-BY 4.0 licence. DOI: 10.5281/zenodo.3332807.#
When an image cannot be loaded in a browser or the link to the image breaks, alt text is displayed in place of a figure as shown below:

Please note that a height of 500px works very well with The Turing Way book, but this is only a suggestion.
Captions#
Captions appear below the figure. They should be short and concise and include a reference to the source where they are taken from. In particular it is important to describe the licence under which the image is re-used.
For example, a caption might say:
Making your first pull request on GitHub. The Turing Way project illustration by Scriberia. Used under a CC-BY 4.0 licence. DOI: 10.5281/zenodo.3332807.
The syntax for this image is as follows, and the way it appears in the book is below the code snippet.
```{figure} ../../figures/first-pull-request.*
---
height: 400px
name: first-pull-request
alt: >
  Cartoon-like sketch of two persons sitting across from each other working on their laptops.
  A straight arrow on the top indicates the main branch of the repository that they are working on,
  a pull request is shown by a branch coming out of the main arrow labelled as Clone,
  followed by a Pull Request with the changes that the first person made in the branch,
  and the final step labelled as Approved that indicates approval of the changes by the second person.
  This arrow then merges back to the main arrow/repository.
---
Making your first pull request on GitHub.
_The Turing Way_ project illustration by Scriberia. Used under a CC-BY 4.0 licence. DOI: [10.5281/zenodo.3332807](https://doi.org/10.5281/zenodo.3332807).
```

Fig. 189 Making your first pull request on GitHub. The Turing Way project illustration by Scriberia. Used under a CC-BY 4.0 licence. DOI: 10.5281/zenodo.3332807.#
Please make sure that the link to the source is the digital object identifier not the Zenodo record.
Also ensure that you have created a link to the source using markdown link formatting: [text](url).