Why build locally
It is useful to preview changes you have been working on as you go on your local machine. You can be confident that changes you have made are accurate and as intended and it will likely be quicker than waiting for a preview to be build from a pull request. You can replicate the build process using Make and Jupyter Book.
Prerequisites
We will be using the command line throughout this guide. You will need to use a terminal emulator to follow.
You will also need to install Python3. You can check which specific version of Python3 the build uses in netlify.toml. However, versions close to that version are also likely to work.
Other command line tools you will need are,
gitmake
Step-by-step Guide
Clone The Repository
git clone https://github.com/the-turing-way/the-turing-wayCreate a Virtual Environment
Navigate into the repository using the command cd the-turing-way; the cd command means change directory.
Create a virtual environment using Python,
$ python3 -m venv ./venvNext, active the virtual environment,
$ source ./venv/bin/activateYour prompt may now start with (venv), for example (venv) user@host$.
Using the virtual environment means we can install The Turing Way’s dependencies without interfering with other packages or libraries you might be using.
That will be explained in more depth in a later section.
Install the Dependencies
The next steps use Makefile. The Makefile contains instructions to build a set of “targets”. That way we can easily run the same commands repeatedly, and in different environments, without needing to remember all the parameters. It is easiest to change into the directory containing the Makefile,
$ cd bookInstall the build dependencies into your virtual environment,
$ make depsBuild the Book
You are now ready to build the book. You can build the book with,
$ make bookThe output of the build process will provide output such as below that demonstrate how you can view the book locally,
===============================================================================

Finished generating HTML for book.
Your book's HTML pages are here:
    _build/html/
You can look at your book by opening this file in a browser:
    _build/html/index.html
Or paste this line directly into your browser bar:
    file:///<path to repository>/book/website/_build/html/index.html

===============================================================================
Open index.html in your web browser to look at your local build.
Building Previews for Different Branches
The build process will use the source files from whatever branch you have checked out.
If you have just cloned the repository, that will be the main branch.
To build another branch, for example a feature branch you are working on you first switch to that branch,
$ git switch mybranch
$ make book
Clean Up After a Build
The build process generates a lot of files. Clearing these files to force a build from scratch may reveal errors and warnings that wouldn’t be raised otherwise.
To remove the outputs of builds use the clean target,
$ make cleanOther Targets
Strict Build
The strict target is useful for debugging.
It will make any warnings raise an error, but also continue the build.
That way, all warnings should be presented to you as errors.
Run the strict build with,
$ make strictPathways Build
The Turing Way has curated user pathways, collecting a series of recommended chapters for different reader types.
The pathways program generates extra Markdown files to add the pathways to the book.
The build target does not generate these files, so a clean build (make clean && make build) will not have pathways.
To build the book with pathways, use the pathways target,
$ make pathwaysThis will generate the pathways files then build the book. This is the build of the book which is deployed to the website.
Why We Recommend Using a Virtual Environment
In the step-by-step guide, we used Jupyter Book to build the Turing Way. For this program to work as intended you will need a Python installation and set of dependencies on your machine.
If you want to use other Python projects, they will also have their own dependencies. You may encounter cases where the dependencies of two packages conflict with each other and it becomes difficult, or impossible, to satisfy both sets of dependencies simultaneously.
Using virtual environments minimises dependency problems. It allows us to install Python packages and all their dependencies in separate, dedicated directories. That way, packages with incompatible dependencies are not a problem because they each have a independent installations and do not share resources.
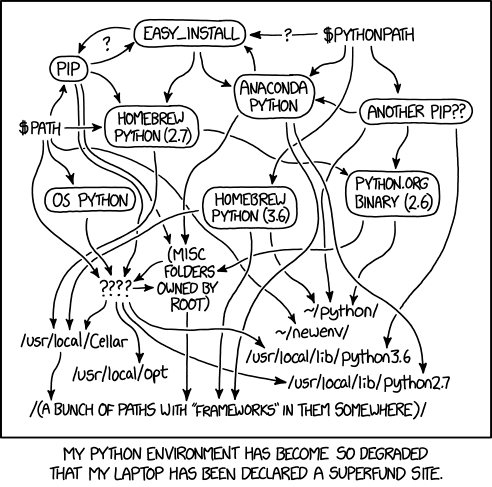
Figure 1:Illustration from xkcd describing the complexities of installing different versions of Python on your computer. Used under a CC-BY-NC 2.5 licence.